Second Beach, Newport by Worthington Whittridge: Session 2

 {halfway through the day}
When working on a copy, the thing I am constantly being reminded about is that painting with oils is a process, one that needs to be thought out and the sequence of steps planned for.
With Worthington Whittridge’s Second Beach, Newport, this is something that I have had to just accept and try to figure out how to plan the sequence of actions. During the first session, I realized that this painting for its seemingly direct sense, was in fact a very developed and multi-layered composition, where Whittridge used many layers of paint, with different textures, and often mixed with medium.
Armed with this knowledge, the first thing I did during my second session at the NGA was to get out a palette knife and squeeze out a lot of paint. I needed to add an under layer of texture to the water area. I laid in paint heavily with the palette knife to create a sense of ripples with the paint that would set up for when I return for the third painting session.
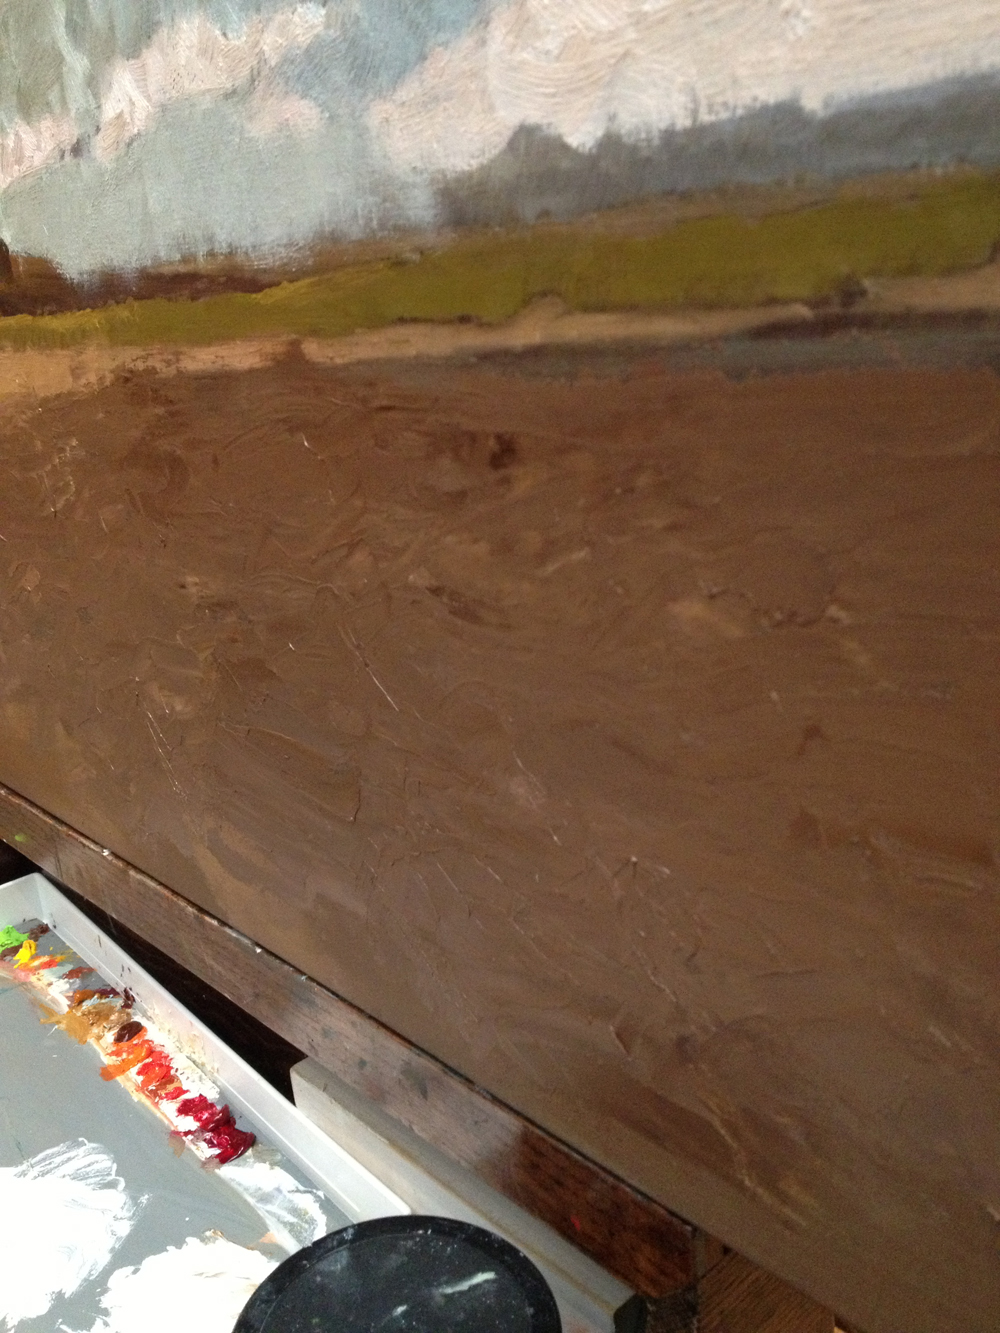 {detail of the thick textured layers trying to emulate ripples in the sand}
I anticipate that when I paint over this sculptural layer some of the ridges will become subdued with the successive paint layers, and hopefully will resemble the effect of rippling sand under water.
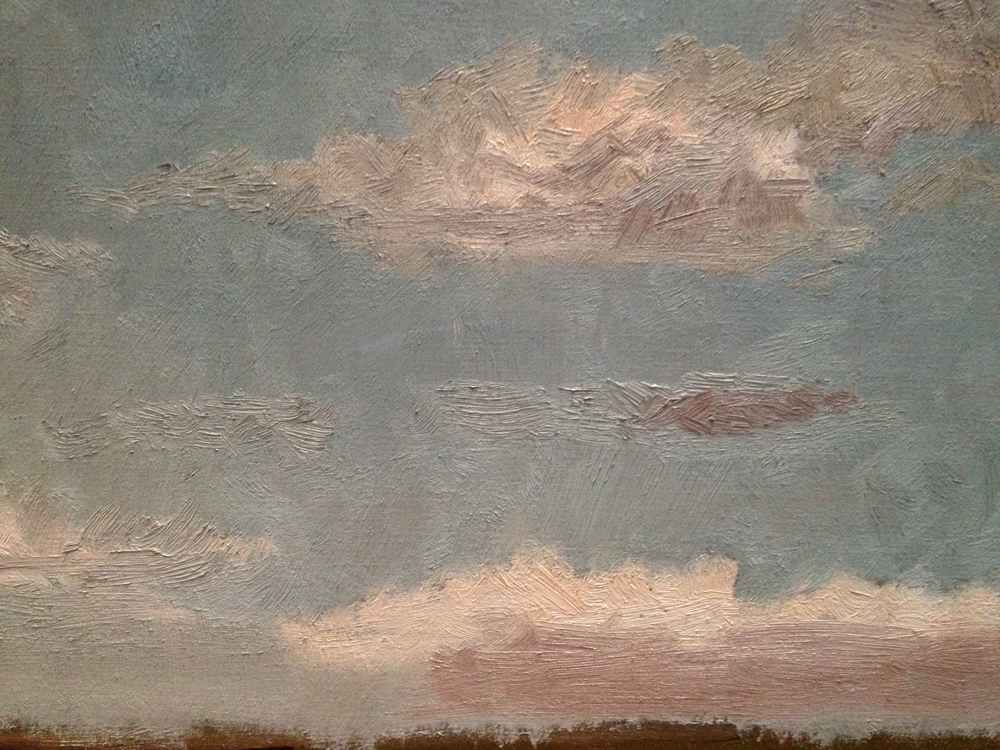 {building up texture in the clouds}
For the sky area I also worked to build up texture where the cloud formations were. For both areas I used some of my precious Old Holland Cremnitz white (because a big tube is more than $100.00 from DickBlick) because it gets so thick and sets up faster than the Blue Ridge Cremnitz white that I now predominately use. (as an aside, Old Holland is still the zenith for Cremnitz white because the more you work it, the more creamy is becomes, but it also sets up fast. I liken it to being stiff like cold cream cheese at first, but as you work it, is becomes smoother and more malleable, but once you lay the paint down, and if you leave it alone, it will set up and become stiff again, back to how cream cheese is when still from the block. So you can lay paint on top of it in a few hours, and this is all without using any medium or additive).
I needed the areas that were laid in during the morning to be stiff enough for a second round of building up the texture later in the afternoon. You see, this is where the process of planning is so important, by making decisions on how to proceed in the morning that would affect my ability to do certain things in the afternoon. This is where also understanding your paints is also very important because it allows you to be able to plan and in your mind work out problems that may arise.
 {texture, texture, texture in the underpainting}
However, even with all this mental work, sometimes you just need to jump in and begin pushing paint around… and this is where I learned something new… when I was first working on building up the texture in the clouds, I was having difficulty getting the edges of the texturized areas to blend well with the less textured areas of the sky. At first I was using a large bristle filbert (filberts being my favorite brush shape), but it just was not working out… and as luck would have it, I had a large bristle round with me. So ditching the filbert for the round made all the difference, and now I am wondering where else I can start using rounds where typically I would avoid using them…